Window bench DIY project
29 September 2019Since we moved into our new flat, I’ve had the idea to build a bench to go into the window recess. The space is ideal for a cosy, comfortable seating area with the view out over the city.
After some searching on Google for inspiration, I started planning in Sketchup. I modelled the window recess, including radiator and skirting boards, and came up with the rough dimensions and design for the bench.

After a few hours browsing in the local DIY store I settled on a butcher’s block style of beech, as it looked good and wasn’t too expensive. I bought three boards in total: A somewhat thicker board (around 30 mm) for the top, and two somewhat thinner (20 mm) boards for the bottom shelf and the sides.
Then it was off to meet Johanna’s brother Matthias in the carpentry workshop where he works. I was expecting to be pulling on a saw, or at least holding bits of wood steady while the professional worked his magic. However, the workshop is extremely high-tech and almost everything is performed by computers!
Even the intial cutting of the boards down to size was automated. Type in the desired length and width, and this machine sucks in the wood and pops it back out a minute later, cut to desired dimensions.

On to the next machine, which cuts out holes for screws, dowels and so on. Matthias, based on his experience, was able to program the machine in advance, and came up with a method of fitting the boards together that was similar to the IKEA method, but would include glueing the joints too.
Here’s Matthias making a few last-minute adjustments on the computer, preparing one of the pieces (an air suction system holds the wood in place during the operation), and one of the finished results.


How does the machine work exactly? I’m not sure, because when it runs, it does this:
And afterwards, the wood has been cut to micrometre precision.
These four slats are to go under the top board to provide support. The odd one out is an offcut from the shelf board. It will be fitted at the front and is the only one that will be visible, and therefore needs to match the beechwood. The others are some wood that was lying around in the workshop.
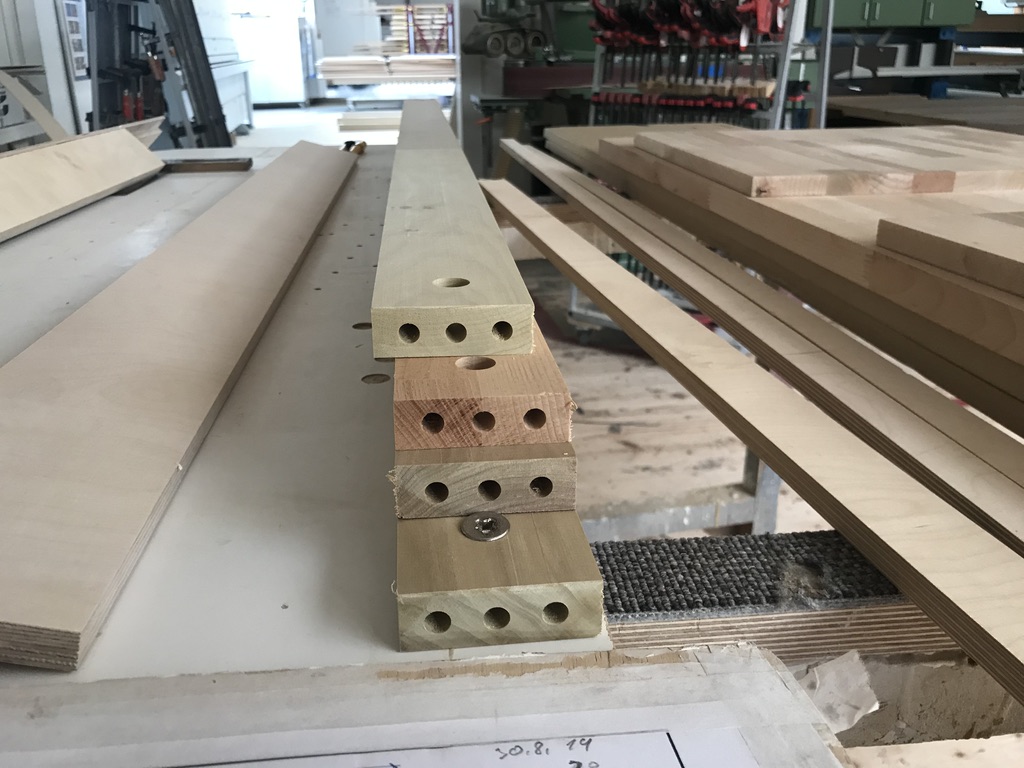
And here’s a before-and-after of one of the sides. Alongside the various holes, the machine also made the cutout to form the two feet.


After all the pieces were cut we did a test-fitting (upside down), to check that everything was OK. Bonus photo: Here’s how a german master carpenter stores his tools.


The dowels were also glued in at this point, and then all the pieces were run through a sander. Here’s Matthias swapping out the sanding paper.


With that we were finished in the workshop and I was able to take the finished pieces home for the final stages.
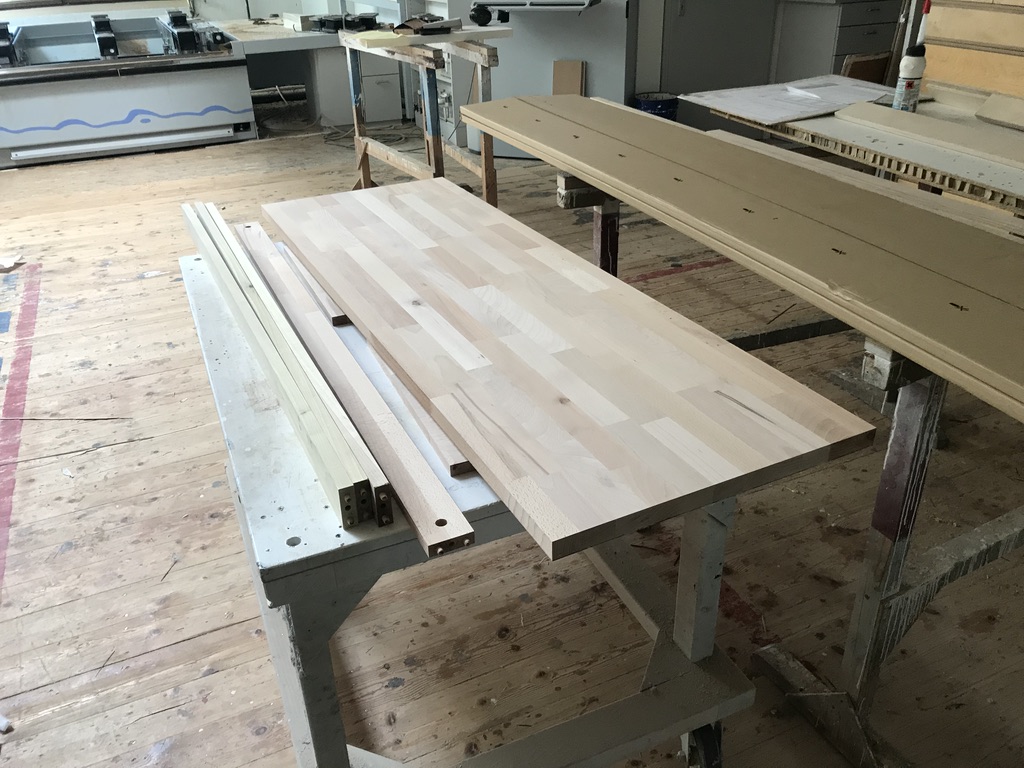
Back home we did a test fitting in the window recess, the final build including glueing and oiling the wood.
And here’s the finished result after two coats of oil. The third photo is most representative of the final colour, a nice warm reddish beech. The cushions are temporary, the plan is to buy a piece of foam, cut it to size and fashion a cover for it.


The bench is already getting a lot of use. With the broad windowsill, it’s perfect for a cup of tea, sitting and reading, whatever the weather.